
Best Golf Simulator Enclosure (2026): Kits, Frames, and DIY Options

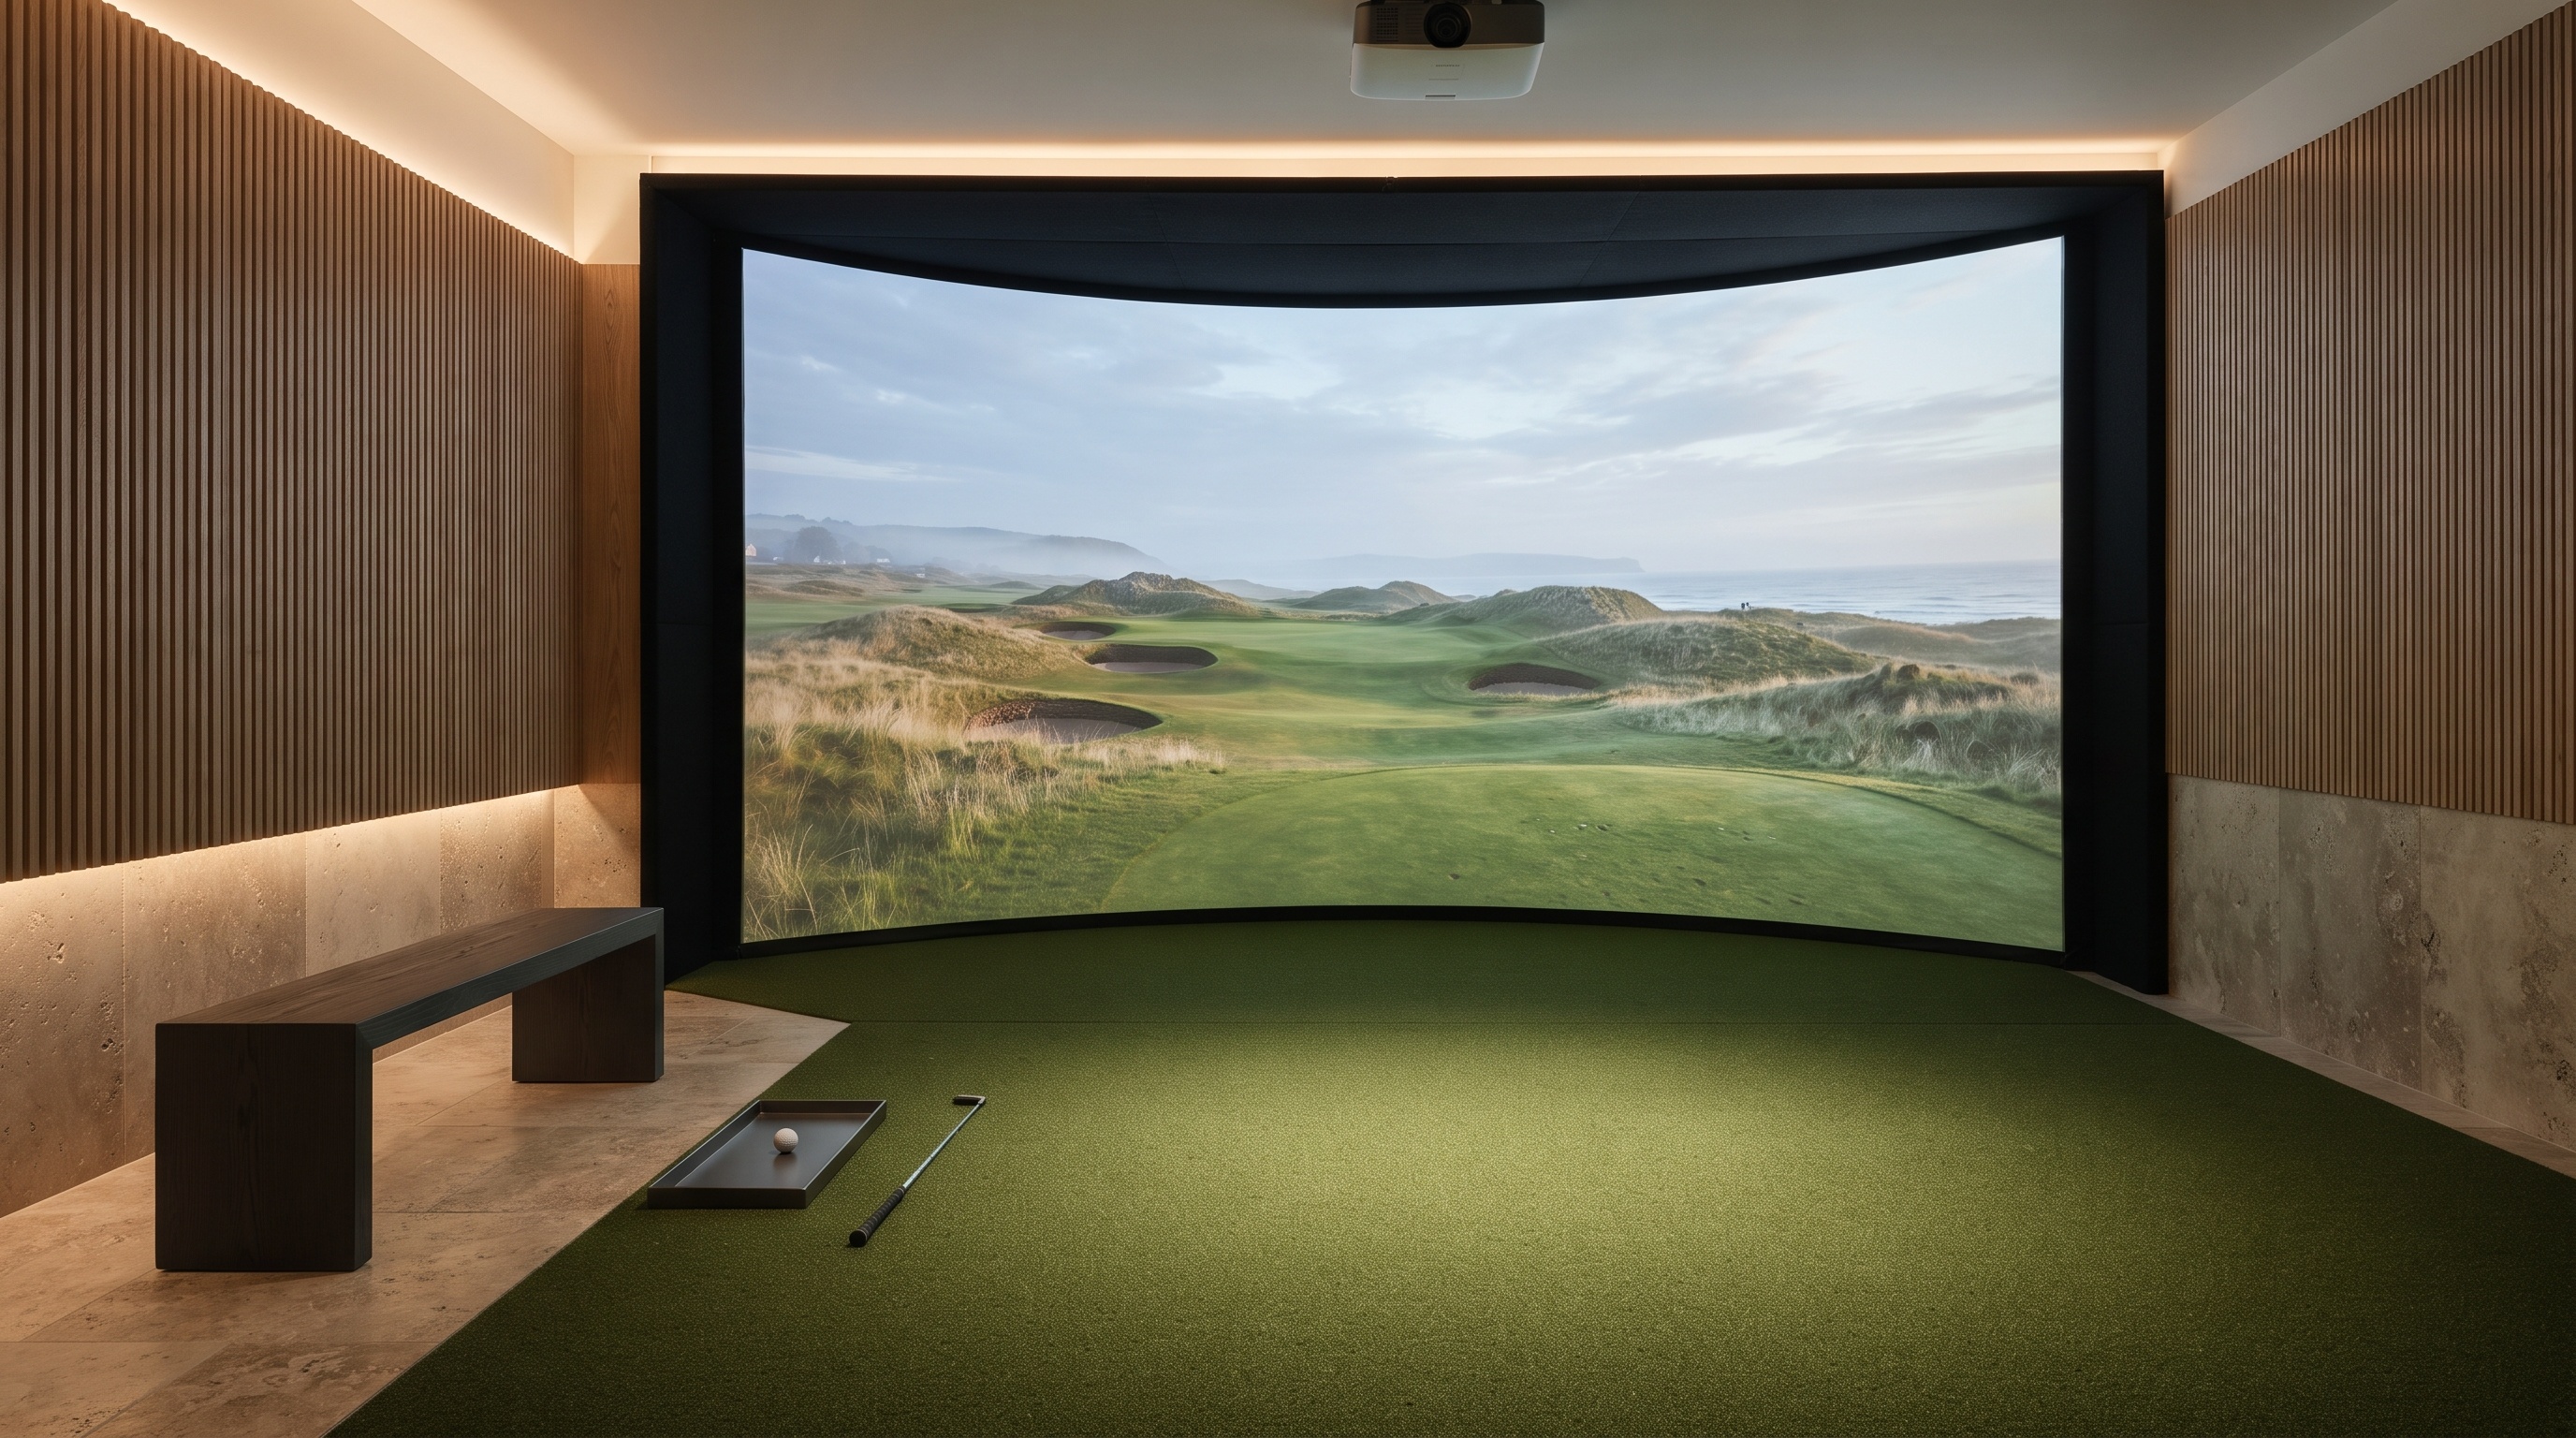
Best Golf Simulator Enclosure (2026): Kits vs. DIY
You already have your launch monitor, screen, and projector. Now you need the best golf simulator enclosure to make your setup safe and finished.
The decision is not just about a product, but choosing an approach. Kits save time and look polished, while DIY builds buy you cost control and custom dimensions. This community-informed guide has no retail inventory to push, so you get honest tradeoffs. Here is how they stack up, starting with the cleanest premium option.
1. Carl’s Place C-Series: The Best Golf Simulator Enclosure for Custom Spaces
Most off-the-shelf enclosures force you to compromise your room dimensions. If you have a non-standard room with a 9-foot-2-inch ceiling, a standard 9-foot kit leaves wasted height, while a 10-foot kit will not fit. The Carl’s Place C-Series wins because it is a highly customizable, modular ecosystem that adapts to your exact wall-to-wall measurements.
This is a premium system where you choose the specific width, height, depth, and screen material. Carl’s Place offers three impact screen options: Standard, Preferred, and Premium. Standard is budget-friendly but loud. Preferred is a solid middle ground, but the Premium triple-layer fabric is the community gold standard because it dampens noise and reduces ball bounceback. A premium gray option is also available to preserve image contrast in rooms with ambient light.
Do not buy the optimistic two-hour assembly estimate. In the real world, a solo, first-time builder will spend three to four hours wrestling with the frame and tensioning. Squaring the frame and getting the screen tight takes real patience.
For the frame, you must choose how to source your 1-inch EMT (electrical metallic tubing). Buying pipes locally saves on shipping but requires a pipe cutter and leaves room for measurement errors. Buying their pre-cut pipe kit saves time but costs more to ship. If you want a commercial-grade build, the Pro enclosure upgrade uses 2-inch EMT, which is heavy enough to safely mount your projector or launch monitor directly to the overhead frame.
Safety details justify the premium price here. A bottom tensioning cable pulls the screen flush to the floor to prevent low-skidded shots from slipping underneath. Crucially, Carl's design eliminates any metal frame pipe directly behind the bottom of the screen, removing the primary ricochet hazard that plagues cheap DIY builds.
The honest tradeoff is complexity and cost. Because the screen is secured by individual bungees, getting perfect tension requires a lot of fiddly trial and error. It is not a quick clip-and-go system. Furthermore, the base price is deceptive. By the time you add the Premium screen, pre-cut pipes, foam frame padding, and side net protection, the final cost can easily double.
Buy it if: You want a clean, professional finish tailored to your room's exact dimensions, and you want an impact screen that will last for thousands of heavy driver shots.
Skip it if: You want a lightweight setup you can tear down in ten minutes, or you want the lowest total cost.
If you are still planning your build, read our golf simulator impact screen guide to see how different materials handle noise and projection quality.
2. SIGPRO SIG8: Best Value Golf Simulator Enclosure Kit
Finding the best golf simulator enclosure often turns into a frustrating scavenger hunt for EMT (electrical metallic tubing) poles and connectors. Sourcing your own pipe requires buying a pipe cutter, cleaning industrial grease off the metal, and hauling 10-foot steel poles home. The SIGPRO SIG8 bypasses this entire process by delivering a complete, off-the-shelf kit designed for standard residential spaces.
The package arrives with a push-button metal frame, a premium impact screen, and side fabric in one box. The frame measures 8 feet high, 8 feet wide, and 5 feet deep, making it a perfect fit for a single garage bay or spare room. It is sized for a standard 4:3 aspect ratio, which is ideal because it maximizes vertical screen height in typical rooms. This image-fills-the-screen design means your projected picture fits edge-to-edge, eliminating the wide black borders common on mismatched builds.
Assembly is straightforward. The simplified clip-together frame poles mean one person can build the skeleton in under two hours. The real work comes after the frame is up. Expect to spend another hour squaring the frame, tensioning the impact screen to remove wrinkles, and securing the safety padding. This padding wraps around the steel frame to prevent dangerous ball rebounds where a fast-moving shot strikes a bare metal pole and snaps back toward the golfer.
The kit includes two critical components buyers often forget to budget for: side barrier nets and stability weights. The heavy-duty side nets extend outward to catch shanked wedge shots before they hit your drywall. The included sandbag weights keep the bottom frame from shifting or lifting off the floor when high-velocity driver shots strike the screen.
The main tradeoff is zero customization. If your room has a sloped ceiling or an awkward width, you cannot easily cut or modify this steel frame. If your ceiling height forces you to use a different aspect ratio like 16:9, you will end up with empty space or will have to compromise on screen size to make the enclosure fit.
This kit is ideal if you have a typical single garage bay or a spare room with at least 9 feet of ceiling height and 11 feet of width. If you need a true wall-to-wall built-in look or have non-standard room dimensions, skip this and buy a custom-sized enclosure from Carl’s Place.
Remember that the enclosure is only one part of the build. You still need to budget for a launch monitor, hitting mat, projector, and floor turf. If you are planning a garage build, check out our garage build guide to map out your layout before buying.
3. Rain or Shine Golf DIY Enclosure: The Best Mid-Range Golf Simulator Enclosure Option
If you are shopping for the best golf simulator enclosure, you quickly realize the market is split. You either buy a cheap net setup that shakes with every shot or a custom enclosure that costs thousands. The Rain or Shine Golf DIY Enclosure targets the space in between. It is a standardized kit designed for builders who want solid retail support and a predictable assembly process without paying the custom-cut premium.
Mid-range in this category means you get heavy-duty steel corner fittings, a black blackout fabric wrap, and a durable impact screen. However, you do not get infinite sizing configurations or ultra-premium screen materials. This is a functional, workhorse kit that prioritizes utility and safety over aesthetic perfection.
Before purchasing, verify how these standard specs align with your build:
- No custom sizing: You must choose from fixed dimensions like 8x10x5 or 10x12x5 feet. If your ceiling is 9.5 feet tall, an 8-foot enclosure will leave a large, unprotected gap at the top.
- EMT pipes are not included: The steel framing pipes are not in the box to save on shipping costs. You must buy 1-inch EMT (electrical metallic tubing) conduit at a local home improvement store and cut them to size yourself.
- Upgrades cost extra: Safety padding, side netting extensions, and floor baffles are sold as add-ons rather than standard inclusions.
The main compromise lies in the screen material and noise. The standard screen is highly durable, but it uses a single-layer polyester weave that is noticeably louder than premium triple-layer options. This single-layer material also has more bounceback, meaning you will need to adjust your screen tension carefully to prevent golf balls from snapping back toward your hitting mat. It also allows more light bleed, so you will need a brighter projector to avoid a washed-out image.
Do not let the $699 sticker price mislead you. Your actual total cost will sit closer to $1,050 once you purchase the EMT pipes, add safety frame padding, and buy side netting.
This setup is ideal for the builder with a standard-sized room who wants a clean look and wants to avoid the risk of unbranded Amazon kits. If you are still budgeting your build, check our golf simulator total cost breakdown to see how to allocate your funds across the launch monitor, turf, and projector.
4. DIY EMT Conduit or PVC Frame: The Best Golf Simulator Enclosure for Custom Dimensions and Cost Control
If you browse golf simulator forums, you will see claims of flawless DIY enclosures built for under a hundred dollars. Those claims are false; they omit everything except the raw pipes. Building your own frame is the best way to get a custom-fit enclosure, but it requires a realistic budget and a willingness to trade your free labor for cost savings.
Your build starts with selecting a frame material. PVC is the cheapest option, but it flexes heavily and can shatter under high-velocity driver impacts. The community standard is 1-inch EMT (electrical metallic tubing) conduit because it is rigid, durable, and cheap. You then pair this metal frame with a standalone impact screen, blackout surround fabric, and safety netting.
DIY is the right call if your space has non-standard dimensions, like a sloped ceiling or a tight basement alcove, that pre-built kits cannot accommodate. It also makes sense if you have basic tools, can measure accurately, and want to spend your money on premium screen material rather than branded framing.
Do not fall for the false low-cost claims. A safe, functional DIY build costs between $700 and $1,000 once you itemize the required components:
- EMT pipes and steel corner canopy fittings: $150 to $200
- Raw premium impact screen: $250 to $500
- Black blackout fabric for the surround: $100
- Foam pipe insulation and bungees: $90
- Side netting and weighted floor baffles: $100
The hardest part of the build is precision, not assembly. Cutting, marking, and squaring the frame is where most DIY builds fail. If your frame is even half an inch out of square, your screen will wrinkle, creating saggy projection zones and uneven wear. The time spent troubleshooting and rebuilding out-of-square frames is the hidden tax of DIY.
You also face safety tradeoffs. Unlike a factory kit, DIY frames suffer from the "gap problem" at the floor and corners, where a shank or low wedge can slip past the screen and hit your drywall. Achieving a clean, professional finish without saggy fabric requires massive patience and meticulous tension adjustments.
To build it right, measure your room first, select your screen aspect ratio, and design the frame around those specs. Build in padding zones for frame protection and plan how you will trap low-skidded balls at the bottom.
How to Choose the Best Golf Simulator Enclosure for Your Space
Build order matters. Always choose your simulation software first, then select a compatible launch monitor, and then map your room. The enclosure is the physical frame that holds your screen and protects your walls, so its dimensions must match those decisions.
The table below compares the four primary paths you can take.
| Enclosure Type | Cost Drivers | Setup Time | Best Room Type | Common Failure Mode |
|---|---|---|---|---|
| Complete Kit | High price, shipping, padded panels | 1 to 2 hours | Clean garages, standard rooms | Sagging screens, shifting padding |
| Frame Kit | Local pipes, fabric surrounds | 2 to 3 hours | Awkward basement heights | Wrinkled screens from pipe cut errors |
| Freestanding Bay | Specialized brackets, weighted bases | 2 to 4 hours | Shared garage bays | Frame walking from hard hits |
| DIY EMT | Corner fittings, raw screen, EMT pipes | 4 to 8 hours | Sloped ceilings, custom shapes | Structural sagging, corner gaps |
Step 1: Calculate Screen Size and Aspect Ratio
Measure your absolute ceiling height first. If you have under 9 feet of clearance, you are restricted to a 4:3 aspect ratio or a custom square shape. A 16:9 widescreen layout requires significant width that low ceilings cannot accommodate without wasting vertical hitting space. Always match your projector resolution to this planned ratio. If you are unsure how to calculate throw distance for your room, review our projector guide before buying.
Step 2: Choose Your Build Approach
If your room has standard dimensions (9-foot ceiling, 12-foot width) and you want a polished look with minimal tool work, a complete kit like the SIGPRO SIG8 is the most efficient choice. If your room has awkward dimensions, a sloped ceiling, or structural obstacles, custom-cut paths from Carl's Place or a pure DIY EMT build are your only realistic options.
The Hidden Costs of Custom Sizing
Modifying standard enclosure dimensions drives costs up fast. Sizing outside standard ratios requires custom fabric cuts and tailored screen finishes. Expect a premium for custom widths or heights because manufacturers must calibrate cutting tables manually. Upgraded 2-inch EMT pipe adapters also increase base costs. Finally, custom builds mean longer production lead times and higher shipping fees for irregular steel cargo.
Safety and Clearance Guidance
A safe room requires physical separation between your enclosure and the walls.
- Drywall clearance: Leave a minimum of 3 to 6 inches of air space between the metal enclosure frame and your room walls or ceiling.
- Avoid drywall rub: Do not let any part of the metal frame touch your drywall. Vibrations from high-velocity driver hits will shift the frame over time, cracking drywall or damaging paint.
- Screen depth buffer: Keep at least 12 inches of empty space behind the impact screen to prevent fabric from hitting the wall.
Side Netting and Barrier Solutions
You need side barriers near garage shelving, windows, or vehicles, or if high-handicap guests are swinging. To stop low shanks from escaping under your netting, use a secure floor-anchoring method:
- Weighted bottom sleeves: Use side nets with integrated bottom sleeves filled with sandbags.
- Bottom rail sleeves: Run a rigid PVC or padded EMT pipe through the bottom hem of the side net to lock it flush against your turf.
- Heavy-duty Velcro: Secure the bottom edge of the side net directly to your floor turf using industrial-strength hook-and-loop strips.
Plan for the worst shot. Your enclosure is only as safe as its bottom corners where the screen meets the side fabric. Seal this junction with foam wedges to trap errant, low-skidded balls.
Quick Checklist Before You Buy
- [ ] Software and launch monitor selected first.
- [ ] Ceiling height measured to the lowest obstacle (sprinklers, garage door tracks).
- [ ] Aspect ratio matched to your planned projector resolution.
- [ ] Verified 3-inch minimum frame clearance on all sides.
- [ ] Verified 12-inch minimum space behind the screen fabric.
- [ ] Side netting and bottom floor barriers mapped out.
Golf Simulator Enclosure FAQ
Should I buy a complete enclosure kit or build a DIY PVC/EMT frame?
You should buy a complete kit if you want a clean, professional finish with a guaranteed fit, but choose a DIY EMT frame if you have a non-standard room or want to control your costs. PVC is not recommended because it flexes and can shatter under high-velocity driver hits.
- Choose a complete kit: For a highly polished look, predictable screen tension, and a faster setup.
- Choose a DIY build: For odd room dimensions, sloped ceilings, and maximum budget control.
Be realistic about your tools and time. A complete kit takes about two hours to assemble, while a DIY frame requires a full day of measuring, cutting, and troubleshooting.
Is it worth paying for pre-cut pipe kits versus sourcing EMT locally?
Sourcing your EMT locally is worth it if you want to save money, but buying a pre-cut kit is worth the premium if you want to avoid cutting errors.
- Sourcing locally: Saves $150 to $300 in heavy freight shipping fees but adds the hassle of hauling ten-foot steel pipes and cutting them to size.
- Pre-cut kits: Eliminates the risk of a miscalculated cut that leaves your frame out of square, but increases your upfront costs.
How much extra does custom sizing usually cost?
Custom sizing usually adds $150 to $500 to the price of a standard enclosure. This upcharge is triggered by manual screen cuts, custom fabric finishes, and specialized frame shipping. Measure your ceiling and width clearance first, then request a specific quote rather than guessing.
Do I really need side netting?
Yes, side netting is non-negotiable if your simulator room contains windows, drywall, or multi-use spaces, or if high-handicap players use the setup. To stop low shanks from slipping under the nets, use weighted sandbag sleeves, run a bottom EMT pipe rail, or use heavy-duty Velcro to lock the net flush to your floor turf.
What are the most common enclosure mistakes?
The most common enclosure mistake is buying a widescreen aspect ratio that does not match your ceiling height, resulting in black bars on your screen. Other common failures include mounting the metal frame directly against drywall, failing to pad the corner joints, and underestimating screen bounceback. Review our projector guide to align your throw distance, and read our impact screen guide to find a fabric that keeps noise down.
Related Guides
Golf Simulator Subscription Costs in 2026: Every Plan Compared
Compare true golf simulator subscription cost across GSPro, SkyTrak, Bushnell, and more. Discover 3-year pricing, avoid hidden fees, and pick the best setup.
Bullseye 3D Golf Mat Review (2026): The New Budget Divot-Feel Mat
Read our Bullseye 3D golf mat review to see how it handles joint shock, launch monitor accuracy, and long-term durability. Learn if it fits your sim setup.
Uneekor EYE XR Review (2026): Overhead Launch Monitor for Home Sims
Read our honest Uneekor EYE XR review covering accuracy, room space requirements, GSPro costs, and whether this overhead launch monitor fits your home setup.