
How to Build a Golf Simulator in Your Garage: Step-by-Step (2026)

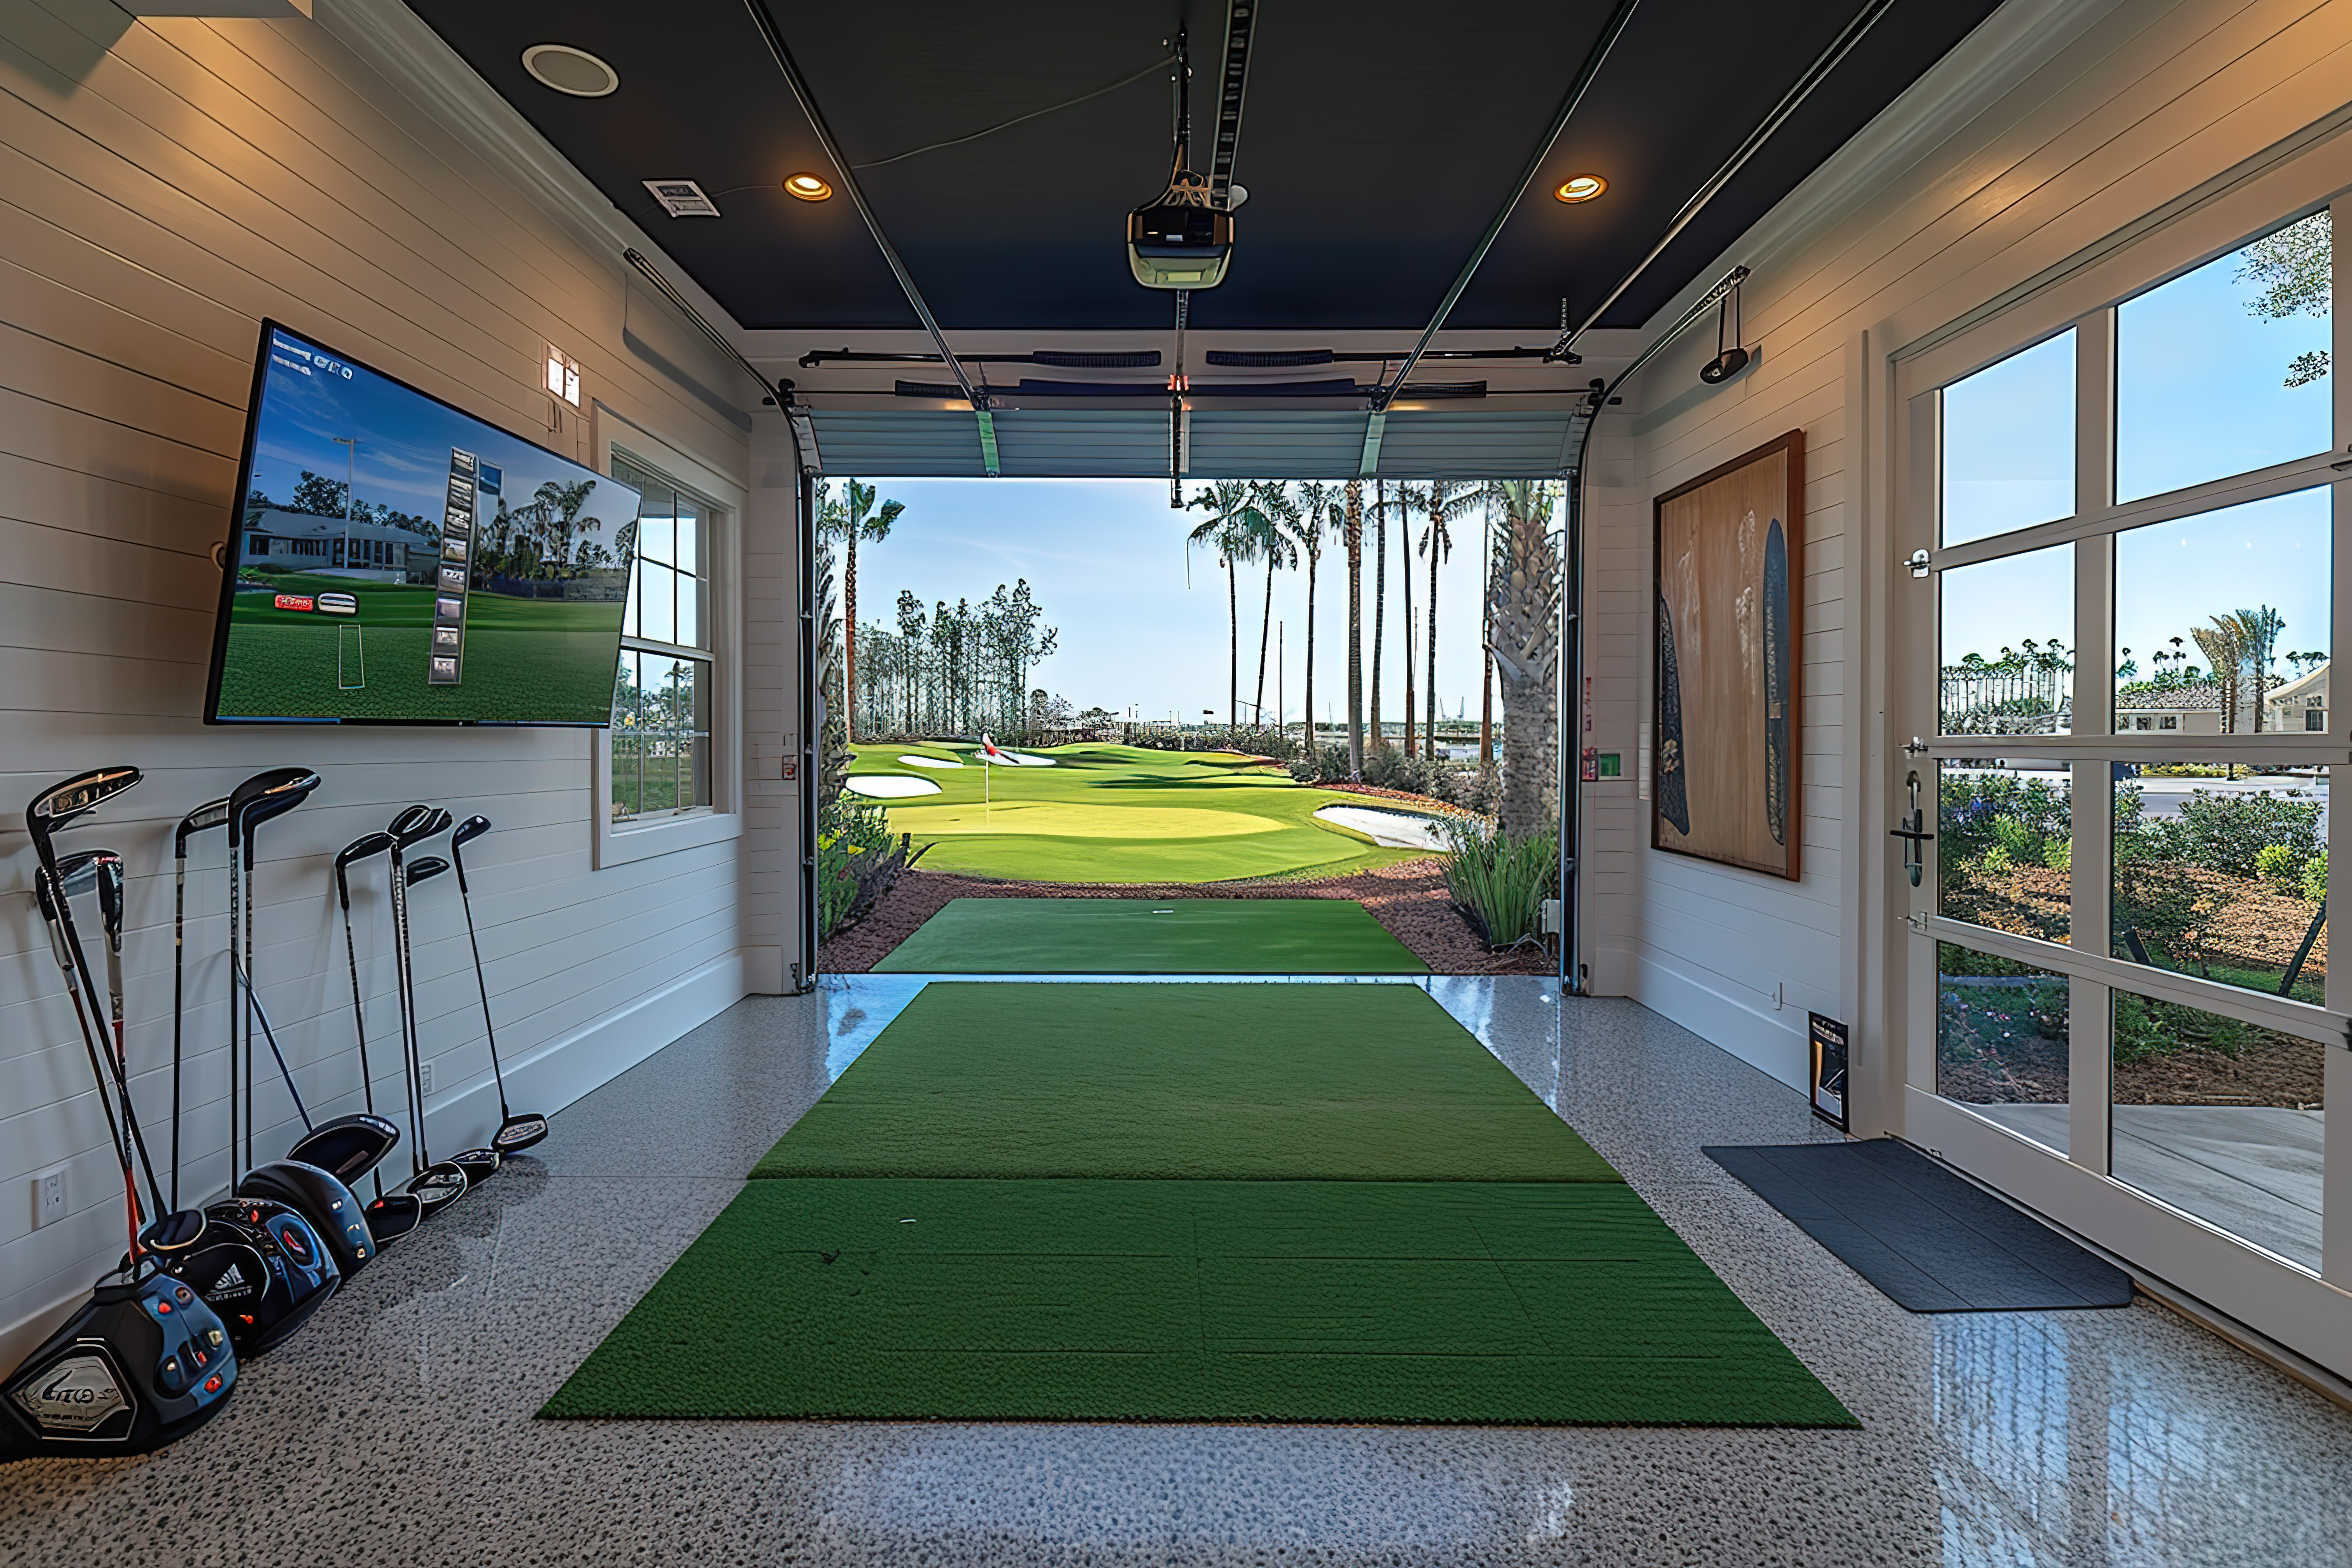
How to Build a Golf Simulator in Your Garage (2026)
Learning how to build a golf simulator in your garage is frustrating because sloped floors, low door tracks, and concrete dust will ruin a standard indoor build. This step-by-step guide maps out an exact, zero-rework build order. You will get exact clearance dimensions, phase-by-phase costs, and a calibrated projector alignment. By following this sequence, you will build a safe, fully aligned hitting bay without wasting money on incompatible gear.
First, master the room clearance math.
Step 1: Measure and Map Your Garage Footprint
Most garage simulator builds fail because of tape measure mistakes, not software bugs. Buying a standard 9-foot-tall enclosure only to realize your garage door tracks sit at 8 feet 6 inches results in expensive return shipping fees and weeks of delay.
Before buying turf or launch monitors, you must map the physical realities of your garage. It has sloped concrete, hanging steel tracks, and limited outlets. Measure your physical limitations first.
Measure Your Usable Box
Do not rely on home blueprints. Measure your actual usable space, accounting for wall-mounted shelves, water heaters, and storage.
- Width: Measure wall-to-wall at the screen location. Deduct 6 inches on each side for enclosure clearance.
- Depth: Measure from the screen to your furthest backswing point. Camera-based systems (SkyTrak+ or Bushnell Launch Pro) sit beside the ball and need 15 feet of total room depth. Radar-based units (Garmin R10 or FlightScope Mevo+) need 14 to 16 feet of ball flight plus 7 to 9 feet behind the tee, requiring 20 feet or more.
- Height: Measure from the floor to the lowest physical obstruction, such as door tracks, opener motors, hanging lights, or support beams.
Calculate Your Effective Ceiling Height
Your effective ceiling height is your lowest overhead obstruction minus the thickness of your hitting mat and any subfloor:
{Effective Height} = {Lowest Obstruction Height} - {Mat Thickness}
If your garage door opener sits at 9 feet 2 inches and you use a 2-inch hitting mat, your effective ceiling height is exactly 9 feet.
Run a physical swing test. Put on your golf shoes, grab your driver, and stand on your hitting spot. If you do not have the mat, stack cardboard to match its thickness. Perform slow swings, building to full speed. Have someone verify that your clubhead clears the tracks and ceiling. Mark any overhead no-go zones on the ceiling with tape.
Solve the Garage Door Obstruction
If tracks or opener motors sit in your swing path, you have two options to free up overhead space:
- High-Lift Tracks: A specialist modifies your tracks to run vertically up the wall before curving, gaining 12 to 24 inches of clearance.
- Jackshaft Opener: Replace your ceiling opener with a wall-mounted unit like the LiftMaster 8500 series. This mounts to the garage door torsion bar, removing the center motor box from your swing zone.
Budget $800 to $1,500 for a professional high-lift and jackshaft conversion. This is a non-glamorous expense, but it often makes a garage simulator possible.
Plan for Sloped Concrete Flooring
Garage floors slope roughly 1/8 to 1/4 inch per foot for water drainage. Standing on a slope warps your posture and ruins swing planes. Select one leveling approach:
- Standalone Mat with Rubber Shims: Place your mat on the concrete and use thin rubber wedge shims under the low side.
- Raised Stance Platform: Build a wood platform using 2x4 framing and plywood. Use leveling feet or custom wood shims to create a flat surface flush with your mat.
- Interlocking EVA Foam Tiles: Lay 1-inch interlocking EVA foam tiles across the floor. Double-stack thinner tiles under the low side of the slope before laying turf.
- Self-Leveling Compound: Pour liquid cement underlayment over the hitting footprint for a permanent flat pad. This is highly effective but difficult to undo.
Map Power and Cable Routing
A simulator bay requires dedicated, reliable power. Use this checklist for your outlet needs:
- Ceiling projector
- PC or gaming console
- Launch monitor (for continuous charging)
- Heating or cooling units
Run a dedicated 15-amp or 20-amp circuit to your simulator bay. Run HDMI and power cables through surface-mounted plastic raceways to keep cords off the floor and protect them from stray golf balls.
Establish Your Phase 1 Budget
Before buying a launch monitor, set aside money for these construction essentials:
- Electrical work and power cables
- Dimmable lighting or black-out curtains for ambient light control
- Floor leveling materials
- Side netting to protect windows and drywall
Once these prep costs are accounted for, spend the rest of your budget on your launch monitor, screen, and software.
What a Correct Result Looks Like
You have a written room sketch listing your exact width, depth, and effective ceiling height. You have a designated tee position, a concrete leveling plan, and a clear understanding of whether you need to modify your garage door tracks.
Common Mistake to Avoid
Measuring only to the drywall ceiling and assuming you have enough room. Many builders buy a 9-foot enclosure package, only to discover during assembly that the garage door opener sits at 8 feet 6 inches. They must mount the enclosure too far forward, destroying their depth calculations, or pay return shipping fees to exchange the kit. Always measure to the lowest physical object.
Step 2: Select Your Software and Shortlist Your Launch Monitor
In a garage, the best launch monitor is the one that fits your depth constraints and runs the simulation software you actually want. Buying hardware before choosing software is the most common path to an expensive mistake. Once you have your garage dimensions, map out your software preferences first, then select compatible hardware that fits your physical space.
Decide Your Simulator Software First
Your software choice dictates your graphics, PC requirements, and compatible launch monitors. Choose from three main options before looking at hardware:
- GSPro ($250 per year): The community-favorite standard with over 500 user-designed courses and active online play. It requires a dedicated gaming PC.
- E6 Connect ($300 to $600 per year): A polished, photorealistic engine with licensed courses and family-friendly mini-games. It runs on both iOS and PC.
- Home Tee Hero ($99 per year Garmin subscription): A budget-friendly, cartoon-style option with 43,000 courses. It is highly portable and runs on a phone or tablet.
Use Garage Depth to Choose Your Monitor Type
Your physical room depth determines whether you need a camera or radar system:
- Radar Units: These sit 7 to 9 feet behind the ball and need 8 to 10 feet of ball flight. This requires 15 to 18 feet of total room depth to read accurately.
- Camera-Based (Photometric) Units: These sit parallel to the ball on the hitting mat. They take high-speed photos at impact, requiring zero rear clearance. They work perfectly in tight spaces with 10 to 12 feet of depth.
Create Your 3-Item Shortlist
Use these three proven options to match your garage space and software preferences:
1. The Budget Radar: Garmin Approach R10
- The Space & Performance: At $599, the R10 is the cheapest entry point to home simulation. Because it uses radar, you need 14 to 16 feet of ball flight plus 7 to 8 feet behind the tee.
- Total 3-Year Cost: $896 (includes $599 hardware and three years of the $99 annual subscription).
- Software: Runs the Garmin Golf app natively and connects to GSPro via an unofficial, community-built API connector.
2. The Budget Hybrid: Rapsodo MLM2PRO
- The Space & Performance: This $699 unit uses dual cameras and radar to deliver excellent iron and wedge data in spaces as short as 14 feet. Driver accuracy is its known weakness; it frequently under-reads driver spin and shows higher variance.
- Total 3-Year Cost: $1,036 (includes $699 hardware, two years of the $99 subscription after the first free year, and $40 for required RPT spin balls).
- Software: Runs the Rapsodo app and E6 Connect, but does not natively connect to GSPro.
3. The Tight-Garage Optical: SkyTrak+ or Bushnell Launch Pro
- The Space & Performance: Camera-based systems sit beside the ball, making them ideal for tight spaces under 15 feet. The SkyTrak+ ($2,495) is only available certified pre-owned (CPO) direct from SkyTrak as of 2026. The Bushnell Launch Pro ($2,499) shares the exact same optical engine as the professional $7,000 Foresight GC3 for tour-level accuracy.
- Total 3-Year Cost (SkyTrak+): $3,215 ($2,495 hardware plus $240 annual play subscription).
- Software: Both connect natively to E6 Connect. The Bushnell Launch Pro supports GSPro through official subscription integrations.
Match Your Launch Monitor to Your Hitting Mat
If you select an optical system like the SkyTrak+ or Bushnell Launch Pro, plan for a premium hitting mat. Photometric monitors track clubhead data and ball interaction at impact. Low-grade, reflective turf mats can distort these readings, causing frequent misreads. Invest in a dedicated mat like a Fiberbuilt, TrueStrike, or Country Club Elite to ensure clean data tracking and protect your joints from concrete rebound.
Phase 2 Budget Checkpoint
Never evaluate a launch monitor on its retail sticker price alone. Establish a hard, three-year total cost of ownership limit using this formula:
{Total Cost} = {Hardware MSRP} + ({Annual Subscription} * 3) + {Required Accessories}
This ensures subscription fees, special spin-tracking balls, and connection keys do not surprise you mid-build.
What a Correct Result Looks Like
You should be able to state your plan in one sentence: "My garage depth is 15 feet, my ceiling is 9.5 feet, I am prioritizing GSPro, and because of my space, I have shortlisted the Bushnell Launch Pro with a premium hitting mat."
Common Mistake to Avoid
Do not buy a launch monitor based on popularity or reviews, only to find it cannot run your target software or requires space your garage door opener blocks. Always finalize your software choice and room depth measurements before buying hardware.
Step 3: Select and Build Your Enclosure System
An impact screen is a safety barrier, not just a projection surface. If you are learning how to build a golf simulator in your garage, your enclosure must contain your worst, most chaotic misses. A 150 mph driver shank will easily punch through drywall, shatter a garage door panel, or ricochet off concrete. You must build a structure that manages ball recoil, absorbs impact sound, and protects the garage.
Lock in Your Screen Size and Placement
Your enclosure depth dictates your hitting mat placement. Use these specific spacing rules:
- Rear Wall Clearance: Place the screen plane 12 to 18 inches off the back wall. This provides room for screen deformation. If the screen is too close to the wall, the ball will hit the concrete or studs behind it and bounce straight back at you.
- Mat-to-Screen Distance: Position your hitting mat 8 to 10 feet from the screen. Hitting closer than 8 feet increases bounceback risk. Standing further than 10 feet narrows your field of view, making you more likely to miss the enclosure entirely on a bad swing.
Pick Your Enclosure Path
You have three options to build your frame, ranging from plug-and-play kits to custom metal builds.
| Build Path | Est. Material Cost | Best For |
|---|---|---|
| 1. Premium Kit Enclosure | $1,200 - $2,500 | Fast, clean, professional looks |
| 2. Freestanding Frame + Screen | $600 - $1,000 | Tight budgets needing mobility |
| 3. True DIY EMT Conduit | $300 - $600 | Custom spaces and sloped ceilings |
1. Premium Kit Enclosures
These are complete, pre-engineered packages from brands like Carl's Place, SIG PRO, or Rain or Shine Golf.
- The Reality: You get pre-cut black fabric walls, custom corner fittings, and a premium screen.
- Pros: Predictable fit, excellent light rejection, and a professional finish.
- Cons: High cost. The frames are rigid and do not adapt well to sloped ceilings or low-hanging garage door tracks.
2. Freestanding Frame + Screen
This path uses a freestanding metal frame or multi-sport net paired with an independent screen like a Carl's Place Premium.
- The Reality: You hang the screen inside the frame with bungees without a full fabric enclosure box.
- Pros: Easy to move if you still park cars in the garage. Cheaper than a full kit.
- Cons: You must purchase and rig your own side nets and top panels to stop stray shots from escaping.
3. True DIY (EMT Conduit Build)
This is the r/GolfSimulators community favorite. You buy 1-inch EMT (Electrical Metallic Tubing) metal conduit from a local hardware store, cut it with a pipe cutter, and join the frame using canopy fittings.
- The Reality: You wrap the metal poles in foam insulation and hang a raw impact screen with ball bungees.
- Pros: The cheapest, most customizable option. Perfect for building around garage door tracks.
- Cons: Requires multiple hardware store runs, manual assembly, and trial-and-error tensioning.
Do Not Skip Side and Top Protection
Drywall is cheap to fix, but garage door tracks and ceiling lights are not. Install these physical buffers:
- Side Netting: Run high-impact nylon nets from the front edges of the enclosure past your hitting mat to catch shanks.
- Ceiling Baffles: Hang a thick fabric panel or netting from the ceiling in front of the screen to catch high wedge shots.
- Pole Protection: Wrap exposed metal pipes in foam pipe insulation or pool noodles. An unprotected metal frame will ricochet a ball back at you at high speed.
Noise and Bounceback Control
A golf ball hitting a screen in a garage can sound like a gunshot. To manage noise and bounceback:
- Buy a multi-layer screen: Avoid cheap single-layer polyester screens. They stretch quickly, sag, and make a loud cracking noise on impact. Multi-layer woven screens are significantly quieter.
- Add a dampening layer: Hang heavy moving blankets or memory foam directly behind your screen.
- Leave an air gap: Maintain a 2-inch gap between your dampening layer and the wall behind it to absorb the energy silently.
Phase 3 Budget Checkpoint
To calculate the real cost of your enclosure, you must factor in the "miss insurance" accessories, not just the screen itself.
| Component | Realistic Budget |
|---|---|
| Impact Screen (Multi-Layer Woven) | $300 - $700 |
| Frame Materials (EMT or Kit) | $120 - $1,200 |
| Side Nets & Top Baffles | $100 - $250 |
| Rear Sound-Dampening Blankets | $50 - $100 |
| Bungee Cords & Frame Connectors | $40 - $80 |
| Foam Pipe Insulation | $30 - $60 |
| Total Enclosure Phase Cost | $640 - $2,390 |
What a Correct Result Looks Like
Your enclosure stands square and stable. The impact screen is flat but has enough play to swallow a ball without snapped bungees. When you hit a shot, the ball makes a low, dull thud, drops straight down to the floor, and rolls back to your feet.
Common Mistake to Avoid
The Flat-Screen Hazard: Do not hang a flat screen directly on your wall without side or top containment. It is easy to assume you only hit straight shots. The first time you or a guest catches a ball off the toe of a driver, it will fly straight into your garage door track, storage shelves, or water heater. Build to contain your worst shot, not just your best.
Step 4: Calculate Throw Ratio and Mount Your Projector
Projector mistakes are geometry mistakes. If your lens is too far back, your body will cast a massive shadow across the screen at address. If it is too close, the image will not fill the screen. Calculating the correct geometry before you mount anything is the only way to avoid blurry corners, skewed images, and player shadows.
Why This Step Matters
A bad projector choice turns a great garage simulator into a frustrating shadow-puppet show. Getting the physical placement right ensures a clean, crisp, shadow-free image. It also prevents you from mounting the projector in a location where a high swing could strike the unit.
What to Do
First, calculate the throw ratio for your exact garage space:
Throw Ratio = Distance from Lens to Screen ÷ Width of Projected Image
To find your target, measure your impact screen width and the distance from the screen to your safest ceiling mounting point. If your screen is 10 feet wide and your safe mounting spot is 8 feet away, you need a projector with a throw ratio of 0.8.
Most garage builds require a short-throw projector with a ratio between 0.5 and 0.9. This allows you to mount the unit overhead and slightly in front of your hitting position, which prevents player shadows. If space is exceptionally tight, an ultra-short-throw projector sitting on the floor in a protective case is an alternative, though ceiling mounting is safer.
Next, evaluate projectors based on three garage realities:
- Lumens: Garages must contend with ambient light from windows and open doors. Look for at least 3,000 lumens, or 4,000 lumens if you plan to play with the garage door open.
- Resolution: 1080p is the standard sweet spot. 4K looks incredible but requires a high-end PC graphics card, which adds significant cost to your build.
- Reference Models: The BenQ LH820ST is a premium, golf-specific laser projector. The Optoma GT1090HDR is a high-brightness value option. For bright garages with high ambient light, the Epson Pro EX9240 offers excellent brightness at a lower price point.
Plan your ceiling mount location centered horizontally to the screen and aligned with your hitting line to minimize the need for digital keystone correction, which degrades image quality. Ensure your mounting hardware sits completely clear of the garage door path, tracks, and opener motor.
Standard HDMI cables degrade over long distances. If your cable run from the PC to the ceiling is longer than 25 feet, use an active optical HDMI cable to prevent signal drops. Route the HDMI and power cords through plastic surface-mount conduits to protect them from moving garage door hardware, ladders, and concrete dust.
Plan your Phase 4 budget with this breakdown:
| Component | Estimated Cost |
|---|---|
| Projector (Value to Premium) | $700 - $1,900 |
| Heavy-Duty Ceiling Mount | $50 - $150 |
| Active Optical HDMI Cable (30-50 ft) | $40 - $80 |
| Ceiling Outlet Installation (Optional) | $150 - $300 |
| Total Phase 4 Cost | $940 - $2,430 |
What a Correct Result Looks Like
The projector is securely mounted to a ceiling joist. The projected image fills the impact screen cleanly from edge to edge with sharp focus and minimal digital correction. When you stand at the tee and take a full driver backswing, your body does not block the projector beam, leaving the screen completely shadow-free.
Common Mistake to Avoid
Buying a cheap home theater projector with a standard throw ratio of 1.5 or higher. To fill a 10-foot screen, you must mount a standard-throw projector 15 feet back. At that distance, the unit sits directly behind your hitting spot, and your body will cast a giant shadow over the center of the screen every time you stand over the ball. Always do the math first.
Step 5: Connect, Calibrate, and Validate Your Simulator
Learning how to build a golf simulator in your garage is only half the battle; the build is not finished when the screen is up. It is only done when your software, launch monitor, and physical alignment work together cleanly. If you do not calibrate the system, your practice will suffer.
Choose Your Software and PC Specs
GSPro and E6 Connect are your two main options. GSPro costs $250 per year, offers realistic ball physics, and has over 500 community courses. It requires a dedicated PC. E6 Connect costs $300 to $600 per year and runs on iOS or PC, making it better for casual play.
If you run PC software, the graphics card (GPU) is your performance bottleneck.
- 1080p Baseline: Nvidia RTX 3060, 16GB RAM, 512GB SSD. Cost: $800.
- 4K Target Build: Nvidia RTX 4070, 32GB RAM, 1TB SSD. Cost: $1,500.
Connect and Calibrate the Hardware
Confirm your connection path. Some monitors connect natively, while radar units like the Garmin R10 require an API connector to run GSPro.
- Protect Your PC: Keep your computer in a dust-proof cabinet. Garage concrete dust destroys PC fans.
- Align the Target Line: Run a string from the screen center through your hitting tee. Place your launch monitor along this exact line.
- Level the Device: Ensure your launch monitor sits level with your hitting mat. Use a small bubble level on top of the device.
Validate your alignment by hitting a pitching wedge, 7-iron, and driver. If your 7-iron carry is 150 yards on the course, it must read within 3 yards of that on your screen.
Troubleshooting Common Issues
- No Reads: Garage lighting is the primary culprit. Fluorescent bulbs flicker and blind optical sensors; switch to non-flicker LEDs. Turn off overhead garage fans, which confuse radar signals.
- Short Carry: If distances feel short, your hitting surface is likely unlevel. A launch monitor sitting half an inch below your mat miscalculates launch angle and inflates spin.
- Choppy Graphics: If the image stutters, reduce graphics settings from Ultra to Medium or drop your resolution to 1080p.
Phase 5 Budget Checkpoint
| Item | 3-Year Total |
|---|---|
| Gaming PC (1080p Baseline) | $800 |
| GSPro Subscription ($250/year) | $750 |
| Paid Connector Software (Optional) | $0 - $100 |
| Total Phase 5 Cost | $1,550 - $1,650 |
What a Correct Result Looks Like
You can play a full round without connection drops, and your yardage gaps match your real-world distances.
Common Mistake to Avoid
Skipping physical calibration. A tilted hitting surface or a target line that is off by two inches will cause massive carry errors in your software.
Putting It All Together: Your Garage Simulator Action Plan
Learning how to build a golf simulator in your garage is entirely doable once you stop guessing. By planning a garage setup that fits, choosing software first to prevent compatibility mistakes, and matching your launch monitor to your room constraints, you will finish with a highly accurate, calibrated system.
If you get stuck, run this quick three-step troubleshooting check:
- Measure effective ceiling height down to the lowest physical obstruction.
- Check the concrete floor slope at your hitting zone.
- Verify launch monitor placement and software compatibility requirements.
Next, map out your hardware. Use our projector guide to calculate your throw ratio, and review our enclosure and screen guide to build safe containment for your worst miss. If you want to run the industry standard software, our GSPro compatibility guide helps you pick a graphics card that handles the load.
If your budget is tight, build in stages. Prioritize a safe enclosure and a premium hitting mat first. You can run your launch monitor and simulation software on a tablet, then add the overhead projector and gaming PC later. Grab your tape measure, map your space, and get building.
Frequently Asked Questions
Can you build a golf simulator in a garage with a 9-foot ceiling?
Yes, you can build a golf simulator with a 9-foot ceiling, but only if your swing clears the lowest physical obstruction and your height allows it. Your effective ceiling height is the lowest overhead obstruction, like a garage door track, minus your hitting mat thickness. To test this before buying gear, stand on your hitting spot with your driver and swing slowly. If tracks are the limiting factor, install high-lift tracks and a wall-mounted jackshaft garage door opener to regain overhead room.
How deep does a garage need to be for a golf simulator?
Your garage needs to be at least 15 feet deep for a camera-based launch monitor, or 21 to 25 feet deep for a radar system. Camera monitors like the Bushnell Launch Pro sit beside the ball and require zero rear clearance. Radar monitors like the Garmin R10 require 7 to 9 feet behind the tee plus 8 to 10 feet of ball flight. Measure your room depth first, then select your launch monitor type based on those physical limits.
Will a sloped garage floor ruin launch monitor accuracy?
Yes, a sloped garage floor can ruin launch monitor accuracy by altering your stance tilt, alignment, and sensor calibration. You can fix this slope by using thin rubber shims under a standalone mat, building a raised wood stance platform, or laying interlocking EVA foam tiles. For a permanent fix, pour a self-leveling concrete compound over the hitting footprint. Always recalibrate your launch monitor and validate your carry yardages after leveling.
Do you need a gaming PC for GSPro or E6 Connect?
Yes, you need a dedicated Windows gaming PC to run PC simulation software like GSPro or E6 Connect. For a smooth 1080p baseline, budget for an Nvidia RTX 3060 graphics card. If you want to run simulation software in 4K resolution, you will need an Nvidia RTX 4070. Apple Mac computers are not recommended for serious GSPro play, making a GPU-focused PC build the only reliable path.
What is the real total cost to build a garage golf simulator in 2026?
A real garage golf simulator costs between $3,500 and $9,000 in 2026 when factoring in hardware, subscriptions, and construction. A budget Garmin R10 build costs $896 over three years for hardware and subscriptions, while a premium Bushnell Launch Pro build costs over $3,200. To save money without compromising safety, build in phases by using a net and a tablet first, and delay buying a projector and gaming PC.
How do you protect golf simulator gear from garage dust and temperature?
Protect your simulator gear by covering the projector and launch monitor with dust caps when they are not in use and running a basic air filtration unit. Garage concrete dust settles on optical lenses and ruins sensitive electronics over time. Manage temperature swings by insulating your garage door, using a portable heater or AC unit, or upgrading to a mini-split system to prevent condensation on internal components.
Related Guides
Square Golf Omni Setup Guide (2026): First Run and GSPro Connection
Master your Square Golf Omni setup with our step-by-step guide. Learn exact Ready Zone dimensions, app calibration, and how to connect to GSPro cleanly.
Golf Simulator for Small Rooms: Best Setups Under 12 Feet Deep
Need a golf simulator small room setup? Discover the best camera-based and overhead builds under 12 feet deep with real placement math, costs, and gear.
Golf Simulator Room Size: Minimum Dimensions by Launch Monitor Type
Discover the real golf simulator room size requirements you need. Learn how height, width, depth, and launch monitor tech affect your home setup.