
Golf Simulator Room Size: Minimum Dimensions by Launch Monitor Type

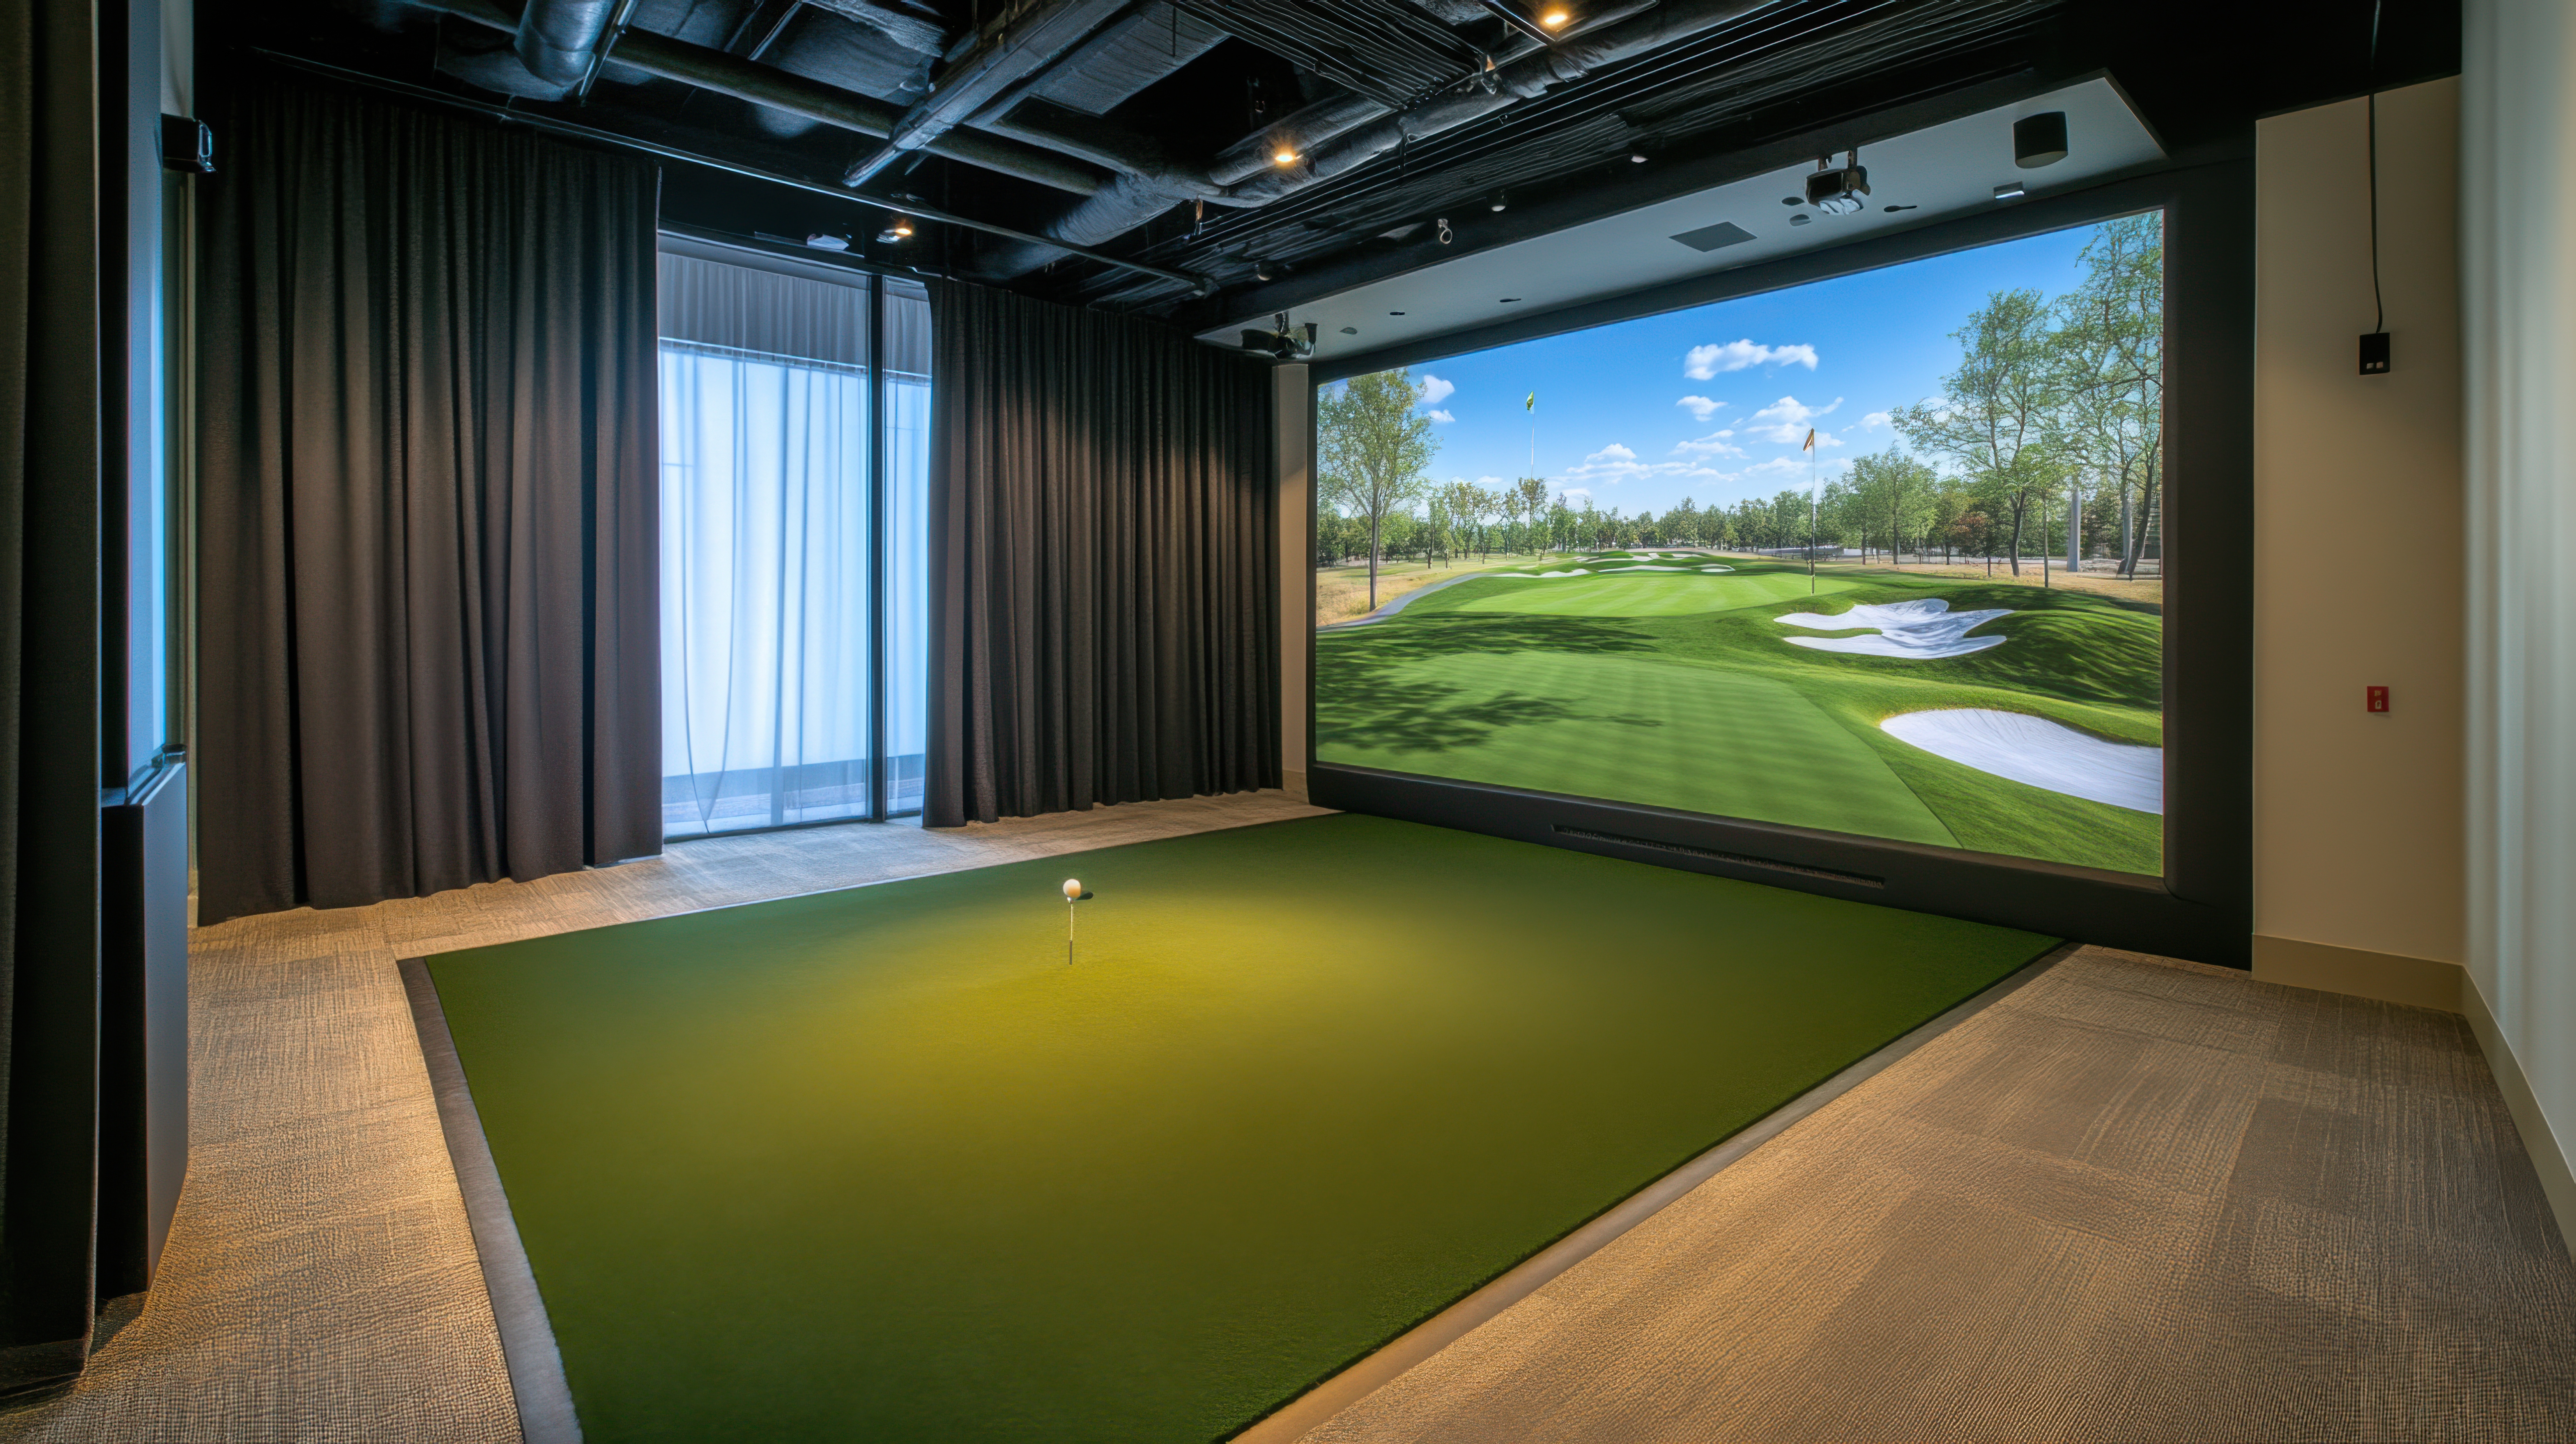
Golf Simulator Room Size: The Real Minimum Space Requirements (2026)
You have a garage or basement in mind and need a flat yes or no: will it fit? The biggest mistake is trusting generic "10x10x9" advice. Your actual golf simulator room size depends entirely on your launch monitor technology. Radar needs depth behind the ball, while side cameras do not. Check the minimum-dimensions table, player height adjustments, and layout diagrams below to see exactly what category your room can support.
Launch Monitor Space Requirements and Cost Lookup
This master matrix maps the absolute minimum golf simulator room size you need based on launch monitor technology. Use these figures to match your room dimensions to a compatible tracking system.
| Tech Category | Example Devices | Min Height | Min Width | Min Depth Breakdown | Works Best When... | Software Compatibility | 3-Year Ownership Cost |
|---|---|---|---|---|---|---|---|
| Behind-the-Ball Radar | Garmin R10, FlightScope Mevo+ | 9 ft 6 in | 10 ft (14 ft left/right) | 15-21 ft (6-8 ft behind, 8-12 ft flight, 1 ft screen gap) | Depth is 18+ ft to prevent indoor spin misreads. | GSPro (Workaround), E6 (Official), Garmin (Official) | R10: $1,650 (Unit + $99/yr Garmin + $250/yr GSPro + PC). Mevo+: $3,500 (Unit + $250/yr GSPro + PC). |
| Side/Near-Ball Optical | SkyTrak+, Bushnell Launch Pro, GC3 | 9 ft 0 in | 10 ft (14 ft left/right) | 11-13 ft (0 ft behind, 10-12 ft flight, 1 ft screen gap) | Hitting mat is offset toward non-camera side. | GSPro (BLP/GC3: Official; SkyTrak+: Workaround), E6 (Official) | SkyTrak+: $3,965 (CPO Unit + $240/yr sub + $250/yr GSPro). Launch Pro: $4,746 (Unit + $499/yr Gold + $250/yr GSPro). |
| Overhead Mounted | Uneekor EYE XO | 9 ft 6 in | 12 ft (14 ft center-strike) | 11-13 ft (0 ft behind, 10-12 ft flight, 1 ft screen gap) | Sensor is mounted 2-3 ft in front of tee. | GSPro (Official), E6 (Official), View (Official) | EYE XO: $8,250 (Unit + $250/yr GSPro, no third-party sub gates). |
The Quick-Pick Space Rules
- If you have less than 16 feet of total depth: You must use side-mounted or overhead camera systems. Radar units like the Garmin R10 or Mevo+ cannot track ball flight in this footprint and will produce inaccurate data.
- If you have 16 to 18 feet of total depth: Radar is viable, but projector throw distances and screen bounce-back safety margins become your tightest room design constraints.
Top 3 Space Planning Mistakes to Avoid
- Ignoring width clearance: 10 feet is the absolute minimum, but you will hold back driver swings out of wall-strike anxiety. Aim for 12 feet to swing freely, or 14 feet for left and right-handed play.
- Forgetting the screen-to-wall gap: An impact screen needs 12 to 18 inches of dead space behind it. Flush placement ruins drywall and rebounds golf balls back at your face.
- Overlooking subscription gates: Hardware sticker prices hide ongoing costs. Units like the Bushnell Launch Pro require expensive annual subscriptions to unlock GSPro. Check the 3-year total cost of ownership before buying.
Why Software Choice Decides Your Golf Simulator Room Size
Buying a launch monitor that fits your physical space only to realize it cannot run your preferred software is an expensive mistake. The golden rule of planning your golf simulator room size is simple: choose your simulation software first, then select your hardware.
Select your platform before buying any gear. Your primary choices are GSPro, E6 Connect, or proprietary ecosystems like Garmin Home Tee Hero and FSX Play. Once you choose your software, you can narrow down launch monitors that both support it and physically fit your available room depth. Reversing this order often locks you into a walled-garden app you never wanted.
Here is how popular launch monitors handle software compatibility:
| Launch Monitor | GSPro Support | E6 Connect | Native Ecosystem |
|---|---|---|---|
| Garmin R10 | Yes (via API) | Yes | Garmin Golf ($99/year) |
| Garmin R50 | No | No | Home Tee Hero (Built-in) |
| Rapsodo MLM2PRO | No | Yes | Rapsodo App ($99/year) |
| SkyTrak+ (CPO) | Yes (via connector) | Yes | Course Play ($240/year) |
| Bushnell Launch Pro | Yes (Official) | Yes | FSX Play (Included) |
| FlightScope Mevo+ | Yes (via API) | Yes | FSX Pro (Included) |
| Uneekor EYE XO | Yes (Official) | Yes | View (Included) |
> The Subscription Reality Check:
> Budget monitors often charge high annual fees to unlock third-party software. If a device requires a paid subscription to connect to GSPro, that recurring cost changes the financial equation of your build. For example, the Bushnell Launch Pro requires a $499 annual subscription to unlock third-party simulation. To see how these fees impact your overall budget, read our golf simulator total cost breakdown guide.
Your software choice directly dictates your physical layout. Running GSPro or E6 Connect at high resolutions requires a dedicated Windows PC with a powerful gaming GPU. You must reserve a safe, dust-free spot in your layout to house this computer tower, keeping it safe from stray golf balls.
Additionally, different software-compatible monitors have rigid space demands. Camera-based units like the SkyTrak+ need 8 to 10 feet from tee to screen, whereas radar units like the FlightScope Mevo+ require 14 to 16 feet of total room depth to track ball flight. For a complete compatibility directory, see our GSPro compatibility master list.
Golf Simulator Room Size: The Real Ceiling Height You Need
Many online forums claim that a 9-foot ceiling is the universal gold standard for any build. The expensive truth is that your golf simulator room size calculations cannot rely on an average iron swing. Ceiling height is dictated entirely by your longest club, your physical height, and how flat or upright your swing path is. If you try to clear a driver with a steep swing at 6 feet tall, a 9-foot ceiling will quickly result in a broken shaft or damaged drywall.
Use this height-adjustment model to find your actual vertical baseline:
| Player Height | Comfortable Driver Ceiling | Driver Ceiling Minimum to Test | Iron-Only Minimum |
|---|---|---|---|
| 5 ft 6 in | 9 ft 0 in | 8 ft 6 in | 8 ft 0 in |
| 5 ft 10 in | 9 ft 6 in | 9 ft 0 in | 8 ft 6 in |
| 6 ft 0 in | 10 ft 0 in | 9 ft 6 in | 9 ft 0 in |
| 6 ft 2 in | 10 ft 4 in | 10 ft 0 in | 9 ft 6 in |
| 6 ft 4 in | 10 ft 8 in | 10 ft 4 in | 10 ft 0 in |
> Swing Style Modifier: If you have an upright or steep swing path, add 4 inches of extra clearance to these minimum values.
If you plan to install an overhead launch monitor like the Uneekor EYE XO, vertical space becomes even more critical. These camera-based systems mount directly to your ceiling and typically hang down 6 to 8 inches, placing them right in your follow-through zone. You must calculate your clearance from the lowest point of the sensor, not the flat drywall. Also watch out for real-world ceiling killers like garage door tracks, door openers, low-hanging light fixtures, HVAC ducts, and projector mounts.
Do not buy any gear until you perform this physical swing test in your planned space:
- Mark your exact tee position on the floor with a piece of painter's tape.
- Stand on your hitting mat (or a piece of cardboard of equivalent thickness) to account for the stand-height loss.
- Take your longest driver and swing slowly at full extension to check for immediate overhead obstacles.
- Gradually increase to full swing speed while a helper watches for clearance or records a slow-motion video to check for scuff risks.
For a deeper look at unique room layouts, sloped ceilings, and joist modifications, read our complete guide on the minimum ceiling height for golf simulator setups.
Golf Simulator Room Width and Safety Clearance Table
Many builders solve ceiling height and room depth only to realize they cannot swing a driver because they ignored horizontal clearance. When planning your golf simulator room size, width is just as critical as ceiling height. Use this lookup table to determine your minimum and comfortable width based on how you plan to align your hitting mat.
| Hitting Style | Minimum Width | Comfortable Width | What You Give Up at Minimum |
|---|---|---|---|
| Offset Single-Player | 10 ft | 11 ft | Centered screen target. You must aim off-center. |
| Centered Single-Player | 12 ft | 13 ft | Symmetrical look. Swings with long clubs feel tight. |
| Centered Dual-Handed (L/R) | 14 ft | 15 ft+ | Room budget. Requires premium wide enclosures. |
The Reality of Offset Hitting
When your room is 10 to 11 feet wide, you cannot hit from the center of the room without your club hitting the wall behind you on your backswing. You must use offset hitting. This means shifting your hitting mat and launch monitor closer to one side of the room to create swing clearance on your trailing side.
Offset hitting is an acceptable compromise used in many tight builds, but it is fiddly. It forces you to aim at an off-center target on your screen, which can feel unnatural. It also complicates your projector alignment, requiring you to offset your projector or use a model with horizontal lens shift. .
The Shank Danger Zone
The narrower your room, the closer you stand to the side walls, leaving zero margin for error. A dead shank or a low-pointing toe strike will smash into your side walls instantly. In any room under 12 feet wide, side netting or wall padding is not optional. You need heavy-duty netting extending at least 8 feet forward from the impact screen.
The Finish-Position Measuring Trick
Do not just measure your stance. To find your actual minimum width, take a slow swing with your driver and stop at your full finish position. Have someone measure from your trailing shoulder to the wall behind you.
Golf Simulator Room Size: The Depth Equation
Calculating your physical space requires more than just reading a launch monitor spec sheet. To avoid swing anxiety and system misreads, use this breakdown to compute your total room depth.
| Depth Component | Camera Setup (e.g., SkyTrak+) | Radar Setup (e.g., Garmin R10, Mevo+) | Safety Rule |
|---|---|---|---|
| Rear Wall Clearance | 12 inches | 12 inches | 12 in baseline; 18–20 in for loose screens. |
| Tee-to-Screen | 8 feet | 8 feet | 7 to 10 feet prevents dangerous bounce-back. |
| Tee-to-Monitor | 0 feet (side mount) | 7 feet | Garmin R10 needs 6–8 ft; Mevo+ needs 7–8 ft. |
| Golfer Clearance | 5 feet | 5 feet | Space behind tee for driver swing path. |
| Total Depth Required | 14 feet | 21 feet | Absolute minimum physical room footprint. |
Hard Planning Numbers to Remember
Start your golf simulator room size calculations with a 12-inch screen-to-wall gap. Bump this to 18 or 20 inches for loose-hung screens to prevent the ball from hitting the drywall. Your tee-to-screen distance should be 7 to 10 feet. This keeps you in a safe comfort zone and prevents high-lofted wedge shots from escaping the enclosure.
Radar-based launch monitors are demanding. The Garmin R10 must sit 6 to 8 feet behind the tee. The FlightScope Mevo+ requires 7 to 8 feet behind the ball plus at least 8 feet of ball flight. This radar spacing pushes your minimum depth to 16 feet on paper, and closer to 21 feet in practice once you add rear player clearance.
The Projector Throw Ratio and Shadow Intersection
Projector placement interacts directly with your depth math. If you mount a projector behind the player, your body will cast a shadow on the screen. To avoid this, use a short-throw projector mounted directly above or just in front of the tee.
Common Failure Mode: You plan 16 feet of room depth for a radar setup. However, a standard-throw projector forces you to mount the unit 18 feet back to fill the screen. If you slide the hitting mat backward to avoid shadows, you destroy the radar's required behind-the-ball tracking distance.
If your depth is tight, do not force the issue. Decide on your simulation software first, then choose a camera-based launch monitor like the SkyTrak+ that fits your room geometry. A safe, functional layout with accurate data beats chasing a specific device on a spec sheet.
Visualizing Your Space: Layouts, Checklists, and Next Steps
Mapping your golf simulator room size starts by defining your physical footprint and solving your space constraints first so you can swing with full confidence. Once you know your exact dimensions, the hardware and software decisions practically make themselves.
Use these visual layouts to map your space:
```text
RADAR LAYOUT (Long Room, Centered Hitting)
+-------------------------------------------------------------+
| [Wall] | |
|---|---|
| -- 12" Screen Gap | |
| [Screen] ======== (Side Netting/Padding on Walls) ======= | |
| -- 8' to 10' Ball Flight | |
| [Centered Tee / Mat] <-- Short-Throw Projector Overhead | |
| -- 7' to 8' Radar Tracking Depth | |
| [Radar Device (e.g., Garmin R10)] | |
| -- 5' Rear Swing Clearance | |
| [Back Wall] |
+-------------------------------------------------------------+
CAMERA LAYOUT (Tight Room, Offset Hitting)
+----------------------------------------------------+
| [Wall] | |
|---|---|
| -- 12" Screen Gap | |
| [Screen] ====== (Padding Zones) ====== | |
| -- 8' to 10' Ball Flight | |
| [Offset Tee] - [Camera Device (e.g., SkyTrak+)] | |
| -- 5' Rear Swing Clearance | |
| [Back Wall] |
+----------------------------------------------------+
```
Run through this final pre-buy checklist before spending a dime on hardware or enclosures:
- Measure your vertical limit: Measure the ceiling height at your actual swing follow-through point, not just the center of the room.
- Perform a dynamic swing test: Stand on your proposed mat location and swing your longest club at full speed to test for wall or ceiling obstructions.
- Confirm software compatibility: Lock in your simulation software first, then select compatible tracking hardware.
- Verify the air gap: Plan for a 12 inch safety gap behind your impact screen to prevent dangerous ball bounce-back.
- Calculate projector throw: Ensure your projector throw ratio places the unit outside your swing path and shadow zone.
Your room size dictates your path. If you have 20 feet of depth, a radar-based setup gives you a spacious, centered experience. If you are limited to 14 feet, a camera system mounted to the side will save your build without sacrificing data accuracy.
Frequently Asked Questions
Can I build a golf simulator in a 10 ft x 10 ft room?
No, you cannot build a full driver-swing golf simulator in a 10 ft by 10 ft room.
- You will hit the side walls on your backswing and follow-through with any wood or driver.
- A 10 ft wide room requires a severe offset hitting position, which is incredibly tight even for short iron swings.
- You can only use a 10 ft by 10 ft space as an irons-only practice net setup using a side-mounted camera launch monitor.
Is a 9 ft ceiling enough for a driver?
A 9-foot ceiling is enough for golfers under 5 feet 10 inches tall with flat swing planes, but taller players will strike the ceiling with a driver.
- Golfers over 6 feet tall typically need a minimum of 9 feet 6 inches or 10 feet of vertical clearance to swing a driver without anxiety.
- Always stand on your hitting mat and slow-swing your driver in the exact spot before buying hardware.
- Low-hanging obstacles like garage door openers, HVAC ducts, and overhead launch monitors will reduce your usable height.
How much space do I need behind an impact screen?
You need a minimum of 12 inches of clearance between your impact screen and the wall behind it to prevent the golf ball from hitting the drywall.
- Increase this gap to 18 inches if you use a loose-hanging screen or hit high-velocity driver shots.
- Install a heavy backing material or foam tiles on the rear wall to absorb impact and minimize bounce-back risks.
- Keep side netting extended at least 8 feet forward from the screen to catch shanked shots.
Why do radar launch monitors need so much depth?
Radar launch monitors require a large depth footprint because they must track the physical flight of the ball over a set distance to calculate spin and launch data.
- Units like the Garmin R10 or Mevo+ need 7 to 8 feet of space behind the ball, plus another 8 to 12 feet of ball flight in front of the tee.
- This setup brings your absolute minimum room depth to 16 feet, though 18 to 21 feet is ideal for clean readings.
- If your room depth is under 15 feet, you should bypass radar and choose a camera-based or overhead system.
Do I need a gaming PC for GSPro?
Yes, you need a dedicated Windows gaming PC with a dedicated graphics card (GPU) to run GSPro software smoothly.
- GSPro is not natively compatible with Mac computers, iPads, or mobile devices for serious simulator play.
- The GPU is the main hardware bottleneck. Budget at least $800 to $1,200 for a PC with an Nvidia RTX 3060 or better.
- If you do not want to manage a gaming PC, look at mobile-friendly software like Awesome Golf or the Garmin Home Tee Hero app.
Does SkyTrak+ work with GSPro?
The SkyTrak+ does not officially support GSPro, but you can connect it using community-designed unofficial software connectors.
- Using unofficial API workarounds can occasionally result in connection dropouts when either system updates.
- SkyTrak+ natively supports E6 Connect and its own Course Play software package, which require their own paid subscriptions.
- If GSPro compatibility is your non-negotiable software choice, look at officially supported devices like the Bushnell Launch Pro instead.
- For more details on the SkyTrak+, checkout our complete SkyTrak+ setup guide.
Related Guides
Square Golf Omni Setup Guide (2026): First Run and GSPro Connection
Master your Square Golf Omni setup with our step-by-step guide. Learn exact Ready Zone dimensions, app calibration, and how to connect to GSPro cleanly.
How to Build a Golf Simulator in Your Garage: Step-by-Step (2026)
Learn how to build a golf simulator in your garage with this step-by-step 2026 guide. Get exact clearance dimensions, costs, and projector setup tips.
Golf Simulator for Small Rooms: Best Setups Under 12 Feet Deep
Need a golf simulator small room setup? Discover the best camera-based and overhead builds under 12 feet deep with real placement math, costs, and gear.